Northumberland Walks Logo

Northumberland Walks Panorama.
Homepage * Site Map * Privacy * Terms * E-mail

© Copyright - All walk descriptions and photos on this website are subject to copyright.


Northumberland-Walks.co.uk - photographic walks in Northumberland.


Housey Crags, Long Crags and Langlee Crags Walk.

Introduction

This walk starts at the car park in the Harthope Valley near Langleeford.

The walk follows the route to Hedgehope Hill via Housey Crags to Long Crags returning to Housey Crags and on to Langlee Crags. From Langlee Crags we followed a route to Brands Hill and back to the valley via a steep track to Langlee and the valley road.

A shortened route can be followed without visiting Langlee Crags and the walk can be done in two sections.

This route follows some footpaths, access land and open moorland and signs advise that no dogs are allowed on parts of this walk.

Distance - Approx. 5.5 miles.

Parking - In the valley near Langleeford.

Toilets - None, nearest in Wooler.

The Cheviot seen from Housey Crags.

Langlee Crags seen from Long Crags.

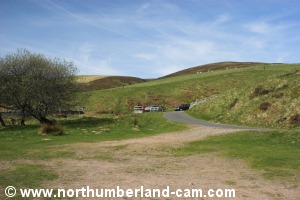
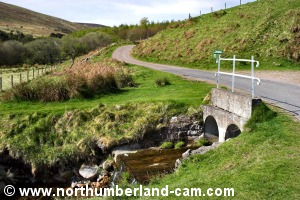
Walk

1) We parked on the grassy area just before the Hawsen Burn. This is where most people park.

We walked up to the road and turned left crossing a small bridge over the Hawsen Burn.

Leaving the parking area.
Bridge over the Hawsen Burn.
Leaving the parking area. Bridge over the Hawsen Burn.


2) Immediately after the bridge we turned left onto a footpath running alongside the Hawsen Burn. This path leads down to the Harthope Burn.


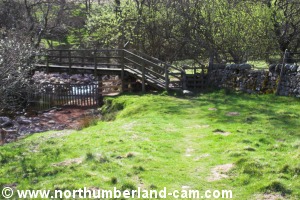
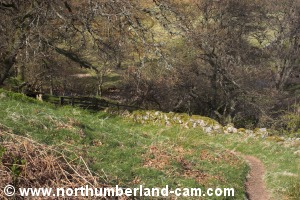
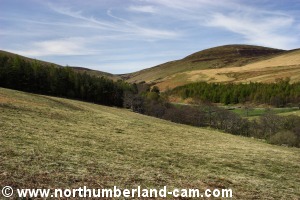
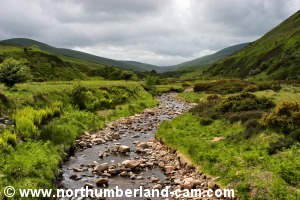
3) We crossed the Harthope Burn over a wooden footbridge with a stile.

On the other side of the bridge is a fine view across the burn, through the trees to the Cheviot. One of the many good photo opportunities of this walk.

Bridge over the Harthpe Burn.
The Cheviot seen across the Harthope Burn.
Bridge over the Harthpe Burn. The Cheviot seen across the Harthope Burn.


4) After the footbridge we turned left and followed the path which immediately starts a short steep uphill climb, crossing more stiles.

View up the path beyond the footbridge.

Looking back down the path.


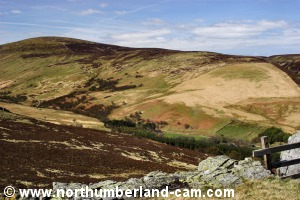
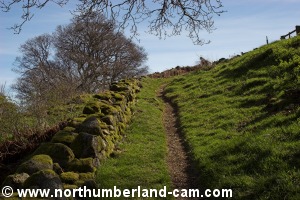
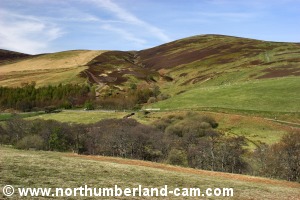
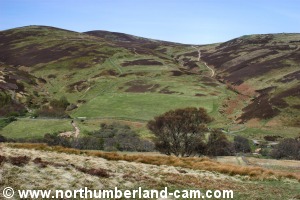
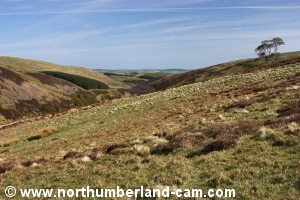
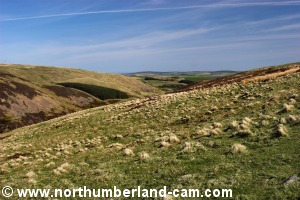
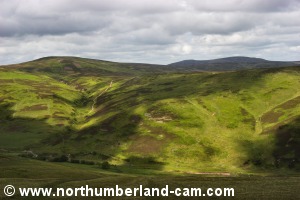
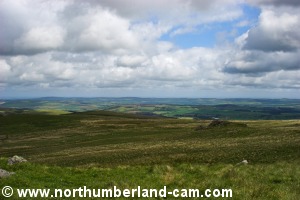
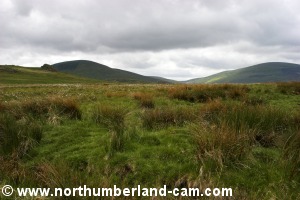
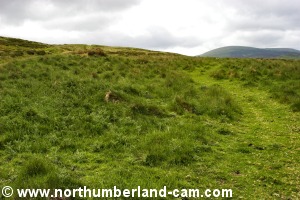
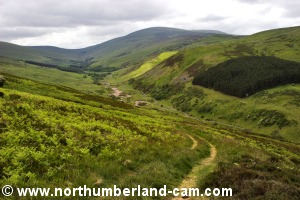
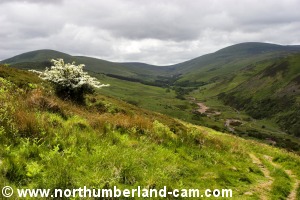
5) At the top of this section the path turns right and crosses a fence onto open ground. We continued up this path, alongside a stone wall and crossed another fence at a boggy piece of ground. There are great views back across the valley here.

View up the path with Housey Crags now visible.
View across the valley to The Cheviot.
View up the path with Housey Crags now visible. View across the valley to The Cheviot.
View across the valley to Blackseat Hill.
View back down the path.
View across the valley to Blackseat Hill. View back down the path.
Hedgehope Hill in the distance above the trees. Hedgehope Hill in the distance above the trees.
Hedgehope Hill in the distance above the trees.
The Cheviot, almost always in sight on this walk. The Cheviot, almost always in sight on this walk.
The Cheviot, almost always in sight on this walk.


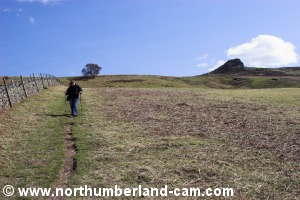
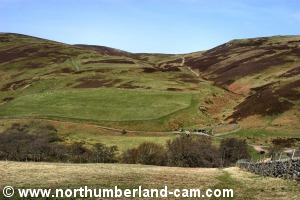
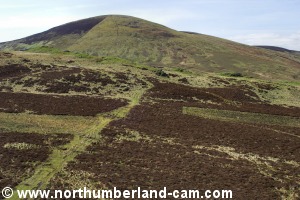
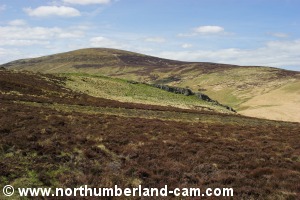
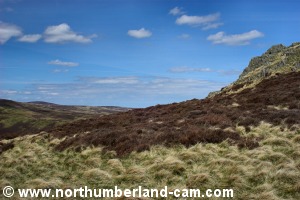
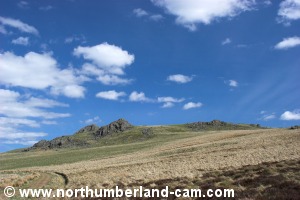
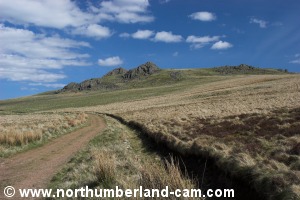
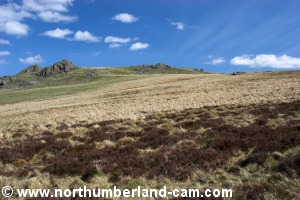
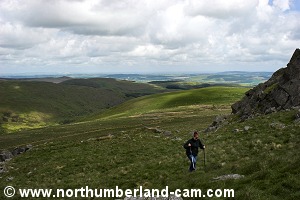
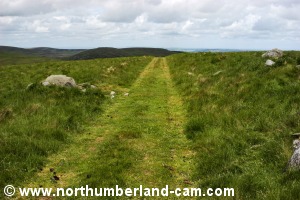
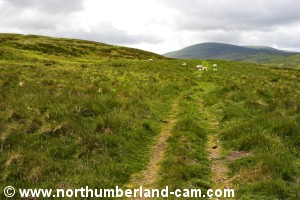
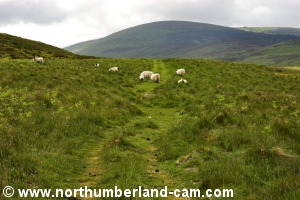
6) The path then became more of a track, meeting another which came up from the right. We continued up the track which headed towards Housey Crags, easily visible on the horizon a short distance away. We saw an adder basking in the sun here, but it soon made off into the grass.

Housey Crags. Housey Crags.
Housey Crags.
View across the Harthope Valley.
Views across the Harthope Valley.
View down the Harthope Valley. View down the Harthope Valley.
View down the Harthope Valley.


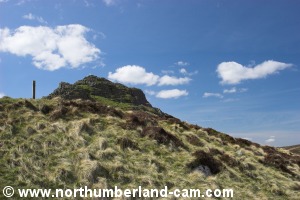
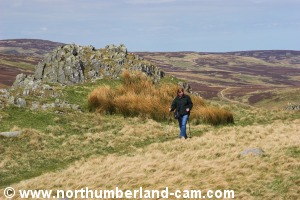
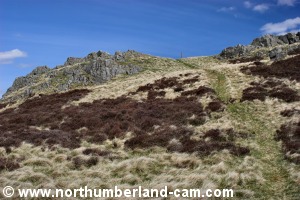
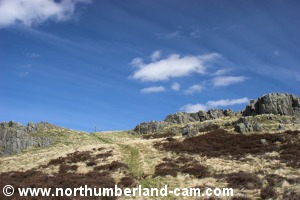
7) The path winds steeply up to the right and to Housey Crags.

Approaching Housey Crags. Approaching Housey Crags.
Approaching Housey Crags.


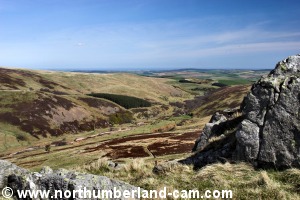
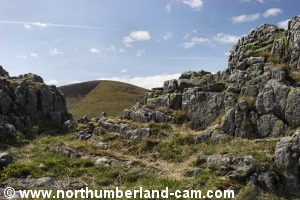
8) We climbed to the top of the crags to take photos of the Cheviot, Hedgehope Valley and Crags. All the views from here are fantastic.

Note - the climb up the crags could be slippery and dangerous in wet, snowy or icy conditions.

View from th top of Housey Crags. View from th top of Housey Crags.
Views of the Harthope Valley, Cheviot, Hedgehope Hill and Langlee Crags from the top of Housey Crags.


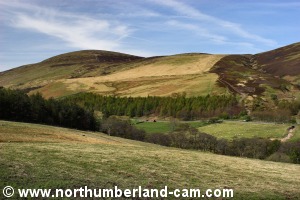
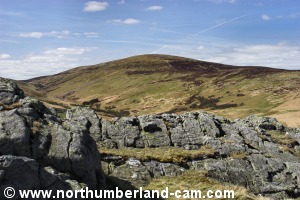
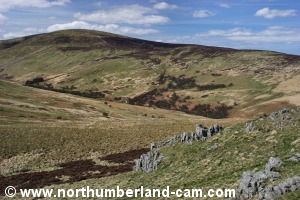
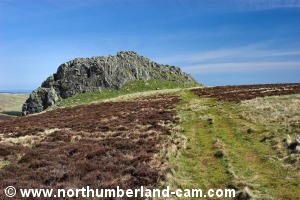
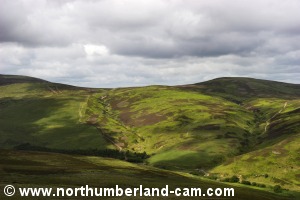
9) From Housey Crags we followed the clearly seen footpath towards Hedgehope Hill, with fine views of the Cheviot across the valley.

Looking back at Housey Crags. Looking back at Housey Crags.
Looking back at Housey Crags.
View from the path to Long Crags. View from the path to Long Crags.
View from the path to Long Crags.


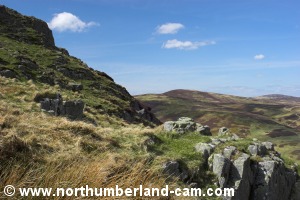
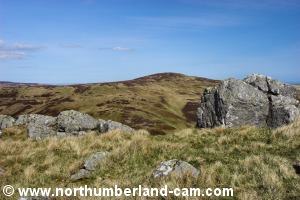
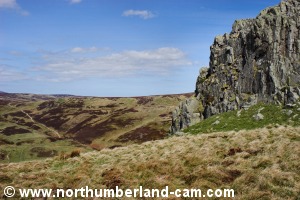
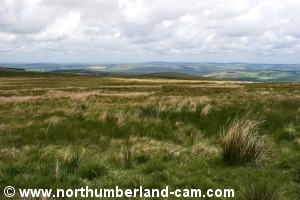
10) After a short while we reached Long Crags, another place with tremendous views from the top of the crags.

Approaching the top of Long Crags. The Cheviot seen from the top of Long Crags.
Harthope Valley seen from the top of Long Crags. Hedgehope Hill seen through a gap in the crags.
Langlee Crags seen from the top of Long Crags.
Another view of The Cheviot. Langlee Crags seen from the top of Long Crags.


11) We followed the path that leads to Hedgehope down the other side of the crags to take photos looking back up to the top. A wild place.

Looking up at Long Crags. Looking up at Long Crags.
Views looking up at Long Crags.


12) We made our way along the bottom of the crags then back up over rough ground to the top.

Rough ground at the bottom of the crags.
Back at the top of the crags.


13) From here we followed the path back to Housey Crags.

Approaching Housey Crags on the return from Long Crags. Approaching Housey Crags on the return from Long Crags.
Approaching Housey Crags on the return from Long Crags.


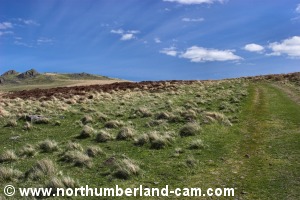
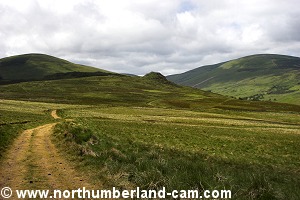
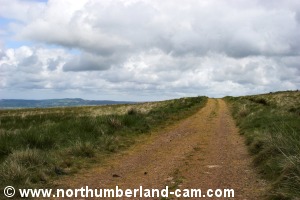
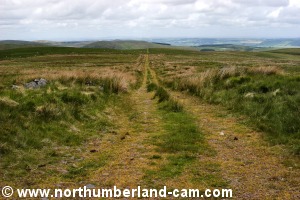
14) We followed the path down from the crags and turned right along a track leading towards Langlee Crags.

Track leading towards Langlee Crags. Track leading towards Langlee Crags.

Views along the track leading towards Langlee Crags.


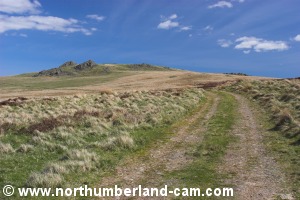
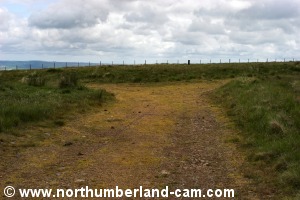
15) After awhile the track crosses a footpath from Threestone Burn House just before reaching a gate.

The walk can be shortened at this point by turning left and following the path down into the valley.

* Due to time constraints we did this walk in two sections and followed this route the first time which is why the photos from here onwards are different.

16) To continue on to Langlee Crags we passed through the gate and followed the track straight ahead. This track was not a marked right of way when we followed it but the area is restricted open access land.

Approaching Langlee Crags. Approaching Langlee Crags.
Approaching Langlee Crags.


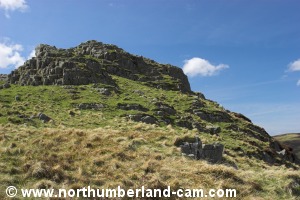
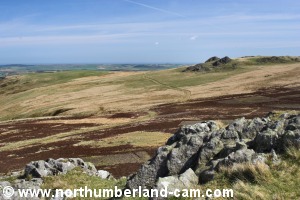
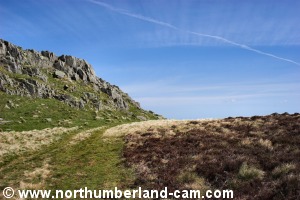
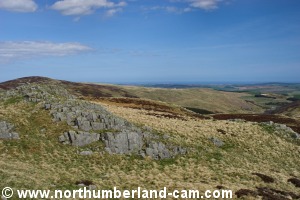
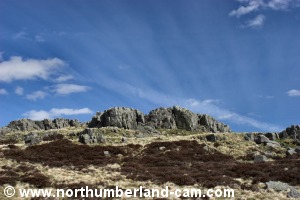
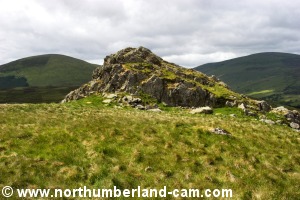
17) After a short distance we headed over rough ground to a gap between the two main crags and walked up to a plateau between them.

View back along the track near Langlee Crags.
Approaching the crags.
View back along the track near Langlee Crags. Approaching the crags.
View of the west crag with The Cheviot and Hedgehope Hill beyond. View along the Harthope Valley from the Crags.
View of the west crag, The Cheviot and Hedgehope. View along the Harthope Valley from the Crags.


18) We climbed to the top of both crags to take photos.

Note - as with Housey Crags this could be slippery and dangerous.

The Cheviot and Hedgehope Hill seen from Langlee Crags. The Cheviot and Hedgehope Hill seen from Langlee Crags.
The Cheviot and Hedgehope Hill seen from Langlee Crags.
View across the Harthope Valley from Langlee Crags. View across the Harthope Valley from Langlee Crags.
View across the Harthope Valley from Langlee Crags.
View of the west crag and the Harthope Valley. View of the west crag from the top of the east crag.


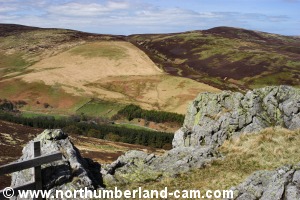
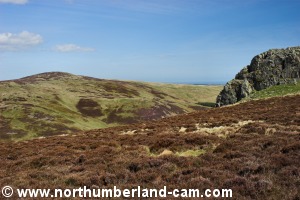
19) After we took in the superb views we walked back down to rejoin the track below and turned right following the track until we reached a junction with a track from Middleton Crags.

View towards Brands Hill.
Views looking towards Brands Hill.


20) We turned left here and followed this track which leads to Brands Hill.

Approaching the track from Middleton Crags. We turned left here towards Brands Hill.
Track to Brands Hill. View to the left - Cheviot & Hedgehope.
The track starts to lose height. Approaching the path down to Langlee.


21) Just before reaching Brands Hill we reached a public footpath from Middleton. We turned left onto this footpath, almost doubling back on ourselves.

Junction of the path to Langlee and a sharp left turn. Path to Langlee.
The Cheviot - straight ahead. The Cheviot - straight ahead.
The Cheviot - straight ahead.


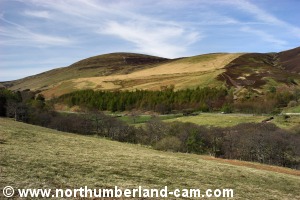
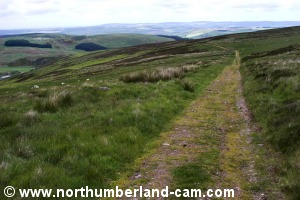
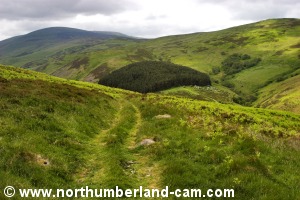
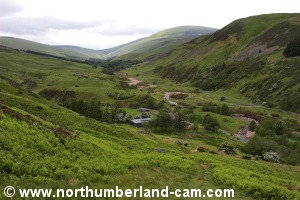
22) We followed this path which soon becomes a very steep path down to the farm at Langlee with great views along the valley to the Cheviot and Hedgehope Hill.

View from the steep path down to Langlee. View from the steep path down to Langlee.
Views from the steep path down to Langlee in the Harthope Valley.


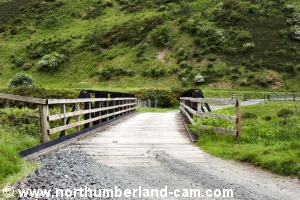
23) Reaching the farm we followed a path around the outside of the farmyard walls and down to a bridge over the Harthope Burn.

Approaching the farm at Langlee. Path past the farm at Langlee.


24) After crossing the bridge we turned left onto the valley road and returned to the car parking area.

Bridge over the Harthope Burn at Langlee. The Harthope Burn seen from the bridge.

Notes

Walking Gear:

- Strong, waterproof hill-walking boots essential.

- Normal fell walking gear advisable in any season.

- Map, compass and the ability to use them essential.

- Walking poles useful.


Food and drink advisable.

Maps - Ordinance Survey Sheet 75, Berwick-upon-Tweed.

Use of information on this page is at the users risk and subject to our terms of use. (No reproduction without permission).


To see larger photos please visit
Northumberland Cam


Northumberland Walks Logo

© Copyright - All walk descriptions and photos on this website are subject to copyright and may not be reproduced in any format without prior permission.


If you would like to use any walking article or photo please use our E-mail form to make your request.

Northumberland-Walks.co.uk ©
Homepage * Site Map * Privacy * Terms * E-mail

Link opens new browser window.

Link opens new browser window.